Ikea Eket Hack – End Tables!

The saga for Miss Sloane’s end tables has come to a happy end all thanks to our good friends at Ikea. Why does Ikea have the most cost-effective solution (aka Ikea hack you can do), always?! I’ll never understand it but I’ll always appreciate it. I’m so excited to share this Ikea Eket hack with you. Give me an Eket and I’ll give you an end table! Not actually true, what I should say is get yourself an Eket and I’ll teach you my latest Ikea hack for how to turn it into an end table.

You got one? Alright, let’s roll.

Before you get any further, just know – the green tape on the walls is because Sloane’s room isn’t complete yet – it’s well underway and I’m making some good progress!
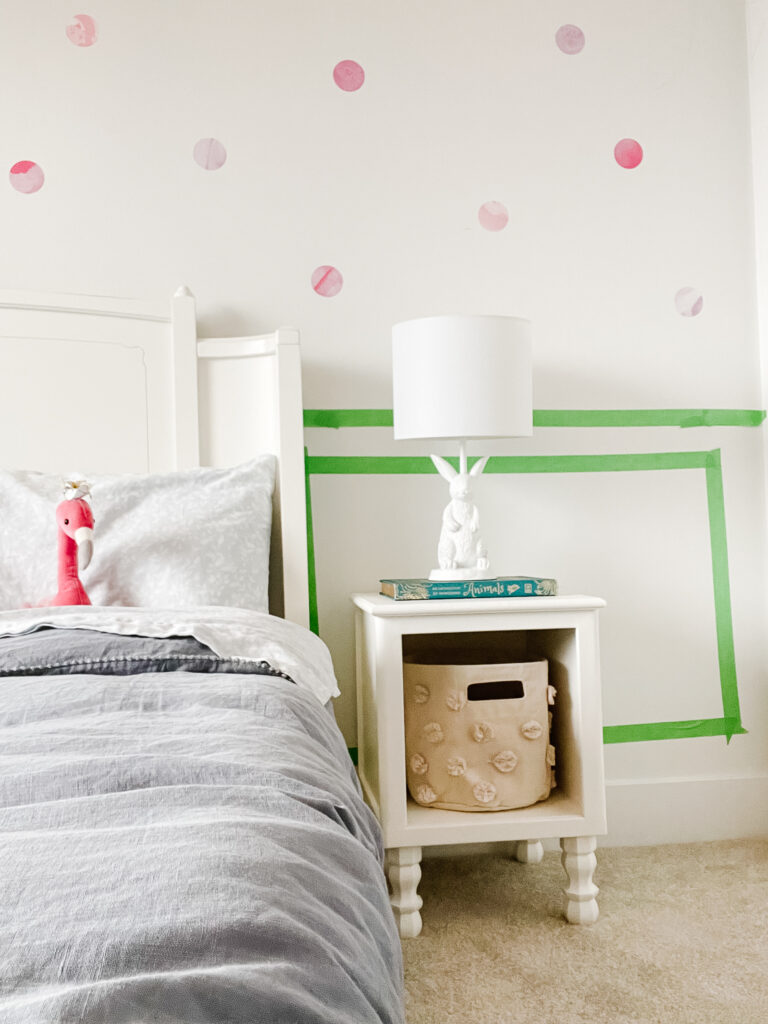
ikea eket hack - end tables in a little girls bedroom that's not yet completed.

Ikea vs. Pottery Barn Kids End Tables

The original end tables I wanted were from Pottery Barn Kids. They were so gorgeous but obviously, came with a crazy price tag. So I opted to go the Ikea Eket hack route to make my own. At first I intended on totally replicating these but quickly realized that for the legs, and the proper sized boxes, it would have been far too expensive and time consuming (because I would have had to cut down the boxes again like I did in my Ivar Hack). I think these turned out even better than the PBK ones for the space we are working in!
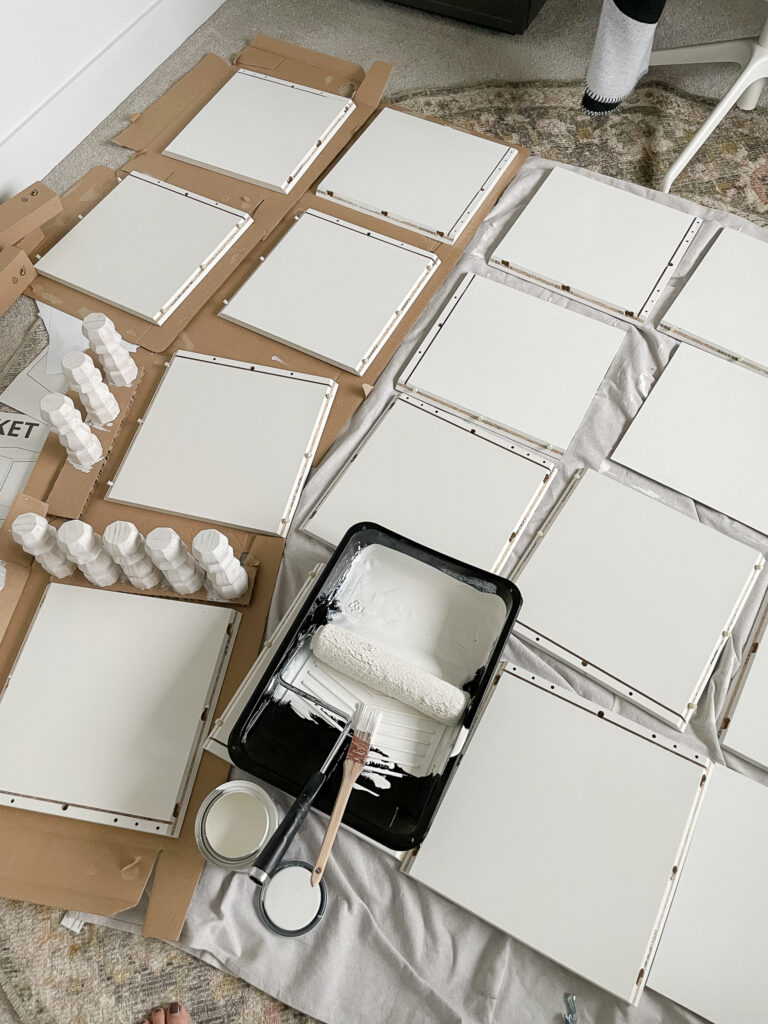
Ikea eket end table hack underway - paining the ekets and legs

What You Need for This Ikea Eket to End Tables Hack

Base:

  • 2 x Eket boxes – the moulding measurements are based off of the 13 3/4 “ deep ones

Moulding:

  • 16 ft of thin moulding – I used 1.5” moulding
  • 10 ft of thin shoe moulding

Top:

  • Two pieces of 15”x15 1/4″ MDF or wood of your choice

Legs:

  • Four pieces of 14” long scrap wood – 1/2″ thick
  • Eight furniture legs – I used these
ikea eket hack in the making - the table top underway

Finishes:

  • Oil-based (or shellac based) primer
  • Paint – I used Benjamin Moore – Simply White
  • Painting tools (drop cloth, brush, paint tray etc. for paint and primer)
  • Wood filler
  • Wood glue
  • Sanding block (150 and 220)
  • Caulk
ikea eket hack in the making - the table top underway

Tools You Need For the Ikea Eket to End Table Hack

ikea eket end table hack in the making. Legs happening

Hack for How to Turn your Ikea Eket into an end Table
  1. Lightly sand the Eket panels. Remove any excess dust with a cloth and prime what would be in the inside of the panels. Once dry, paint two coats with a colour of your choice.
  2. Once dry, assemble your Ekets.
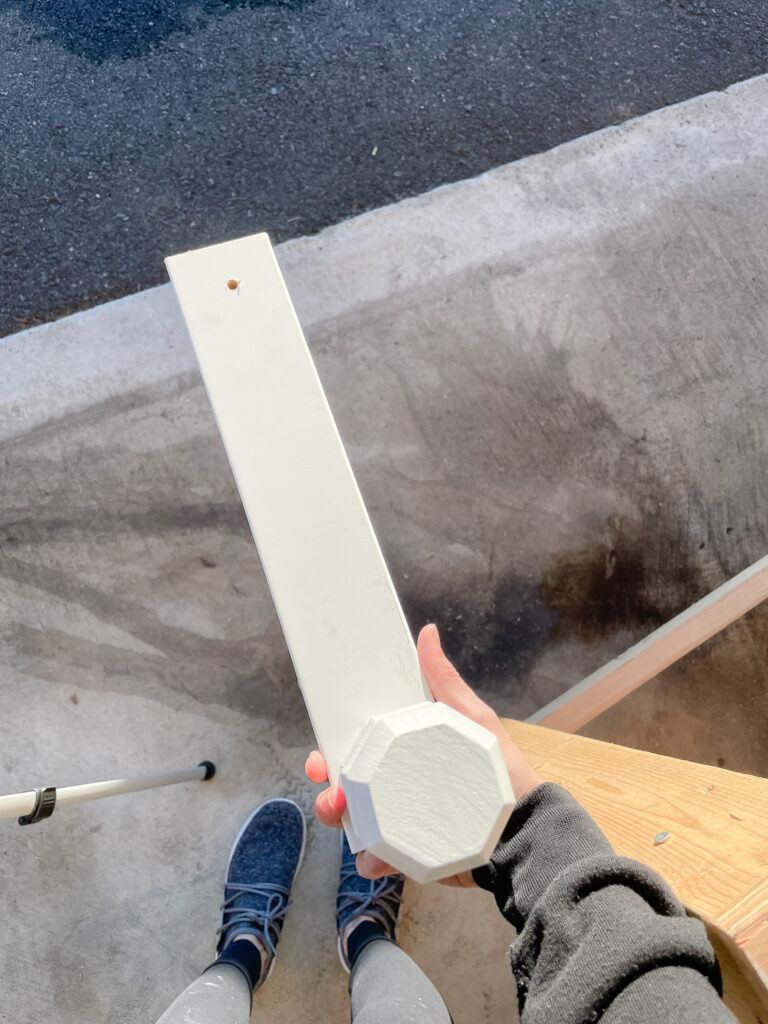
  3. Cut your scrap wood to be the exact same width as your Eket cabinets. Take your legs and measure exactly where they would need to be screwed in if they were sitting flush to the very edge on the “front side” and “side side.” Push down to make a mark with the screw. Using a drill bit (slightly smaller than the size of your leg screws), make a hole for your legs to go into. Screw the legs into the hole. Repeat on four pieces of scrap wood – you’ll need two legs on either end of the scrap wood.
  4. Now you’re going to cut your moulding. You’re going to do the base first. I framed all the way around the base of the box. I mitred both corners of the front piece to match the length of the box (13 13/16ths” – the shorter mitred portion is the same length as the front of the box). I then mitred one corner (where it’ll connect to the front piece) on each of the sides. I cut the back portion of each side piece to 90 degrees. I typically measure as I go to double check. I then copied these cuts once I knew they fit for my second box.
  5. Next, the rest of the frame – this time you will mitre both corners of the front top piece to match the length of the box (13 13/16ths) but you will have your moulding flat. Then, measure the length you’ll need for the two side pieces. Again, on side will be mitred flat and the other side I actually mitred with the moulding standing up so that it sat nicer above the bottom moulding. Repeat for box 2.
  6. You can then cut your shoe moulding – I did 90 degree cuts for these and the length was 13” from the top of the (base) moulding to the top of the box.
  7. Using wood glue and your nail gun, attach the legs/scrap wood to the base of your cabinets. I added glue to the scrap wood and lined it flush to the front and sides. Then using 1” nails, nail it in so it can dry easily. Repeat for the second scrap wood (containing legs) on box 1, then repeat again for box 2.
  8. Start to secure the moulding – I started at the top because I wanted that to be fully flush. I secured it using 1” nails and my nail gun. Repeat for the side moulding and the base. Then do the base along the sides. The shoe moulding then fits in beautifully – tuck it as close as you can to the side moulding and the base moulding. Then repeat on the back – flush to the back and tucked into the base moulding. Repeat for the other side of box 1 and then again for box 2.
  9. Fill, sand, fill and sand.
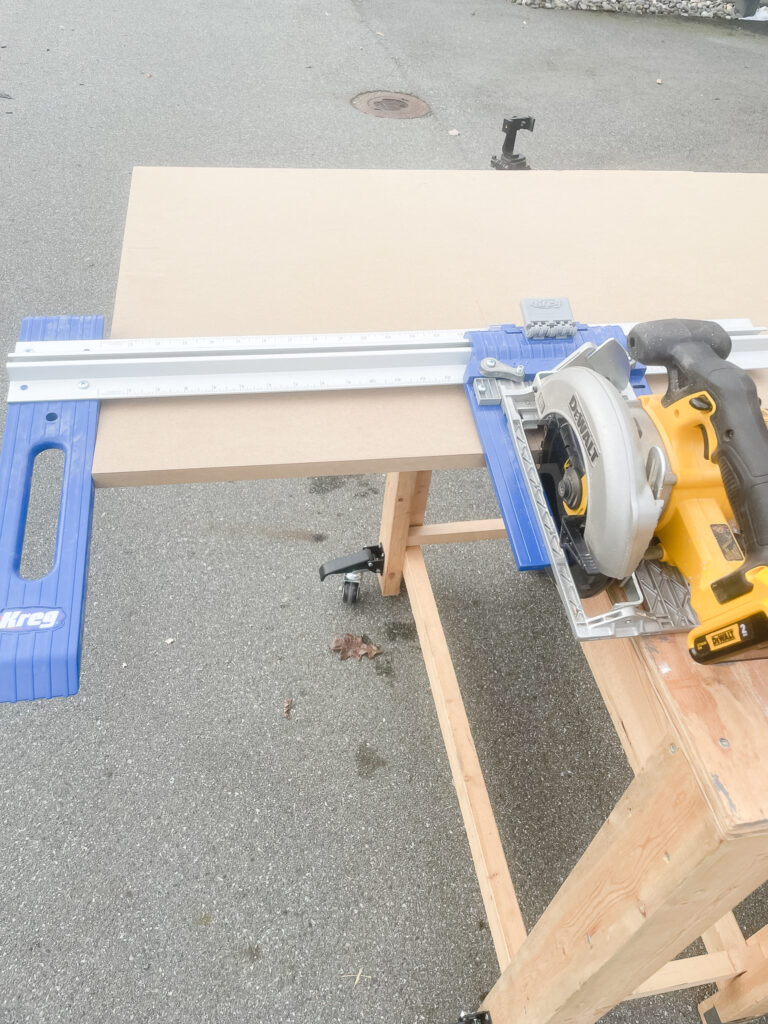
  10. If your MDF/wood topper isn’t already cut to size, take your circular saw and do that.
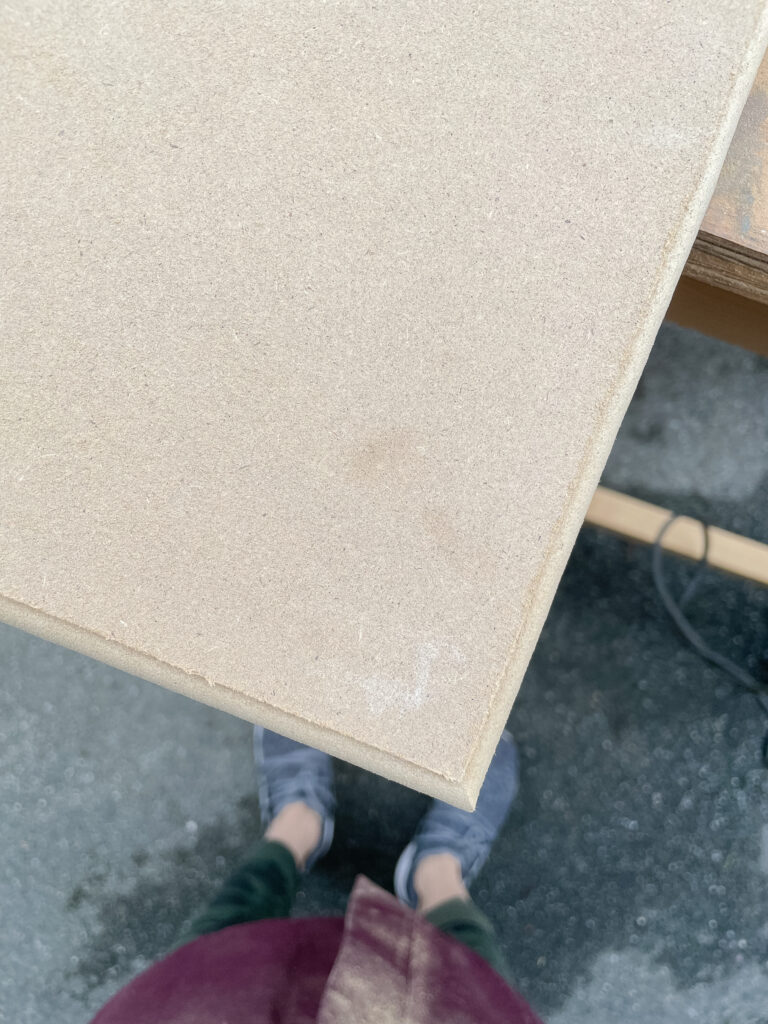
  11. Then to achieve a more finished and polished look, take your router with a 1/4″ roundover bit and route out the top side of the end table top. Flip it over and route the bottom too.
  12. Prime and paint on a wiped clean surface once filling, sanding, and routing is all complete.
  13. Once the pant is all dry, wood glue your top on and place heavy objects overtop so it can cure. I let mine sit overnight.
  14. Congratulate yourself because you just hacked your Ikea ekets and made some end tables!!!!
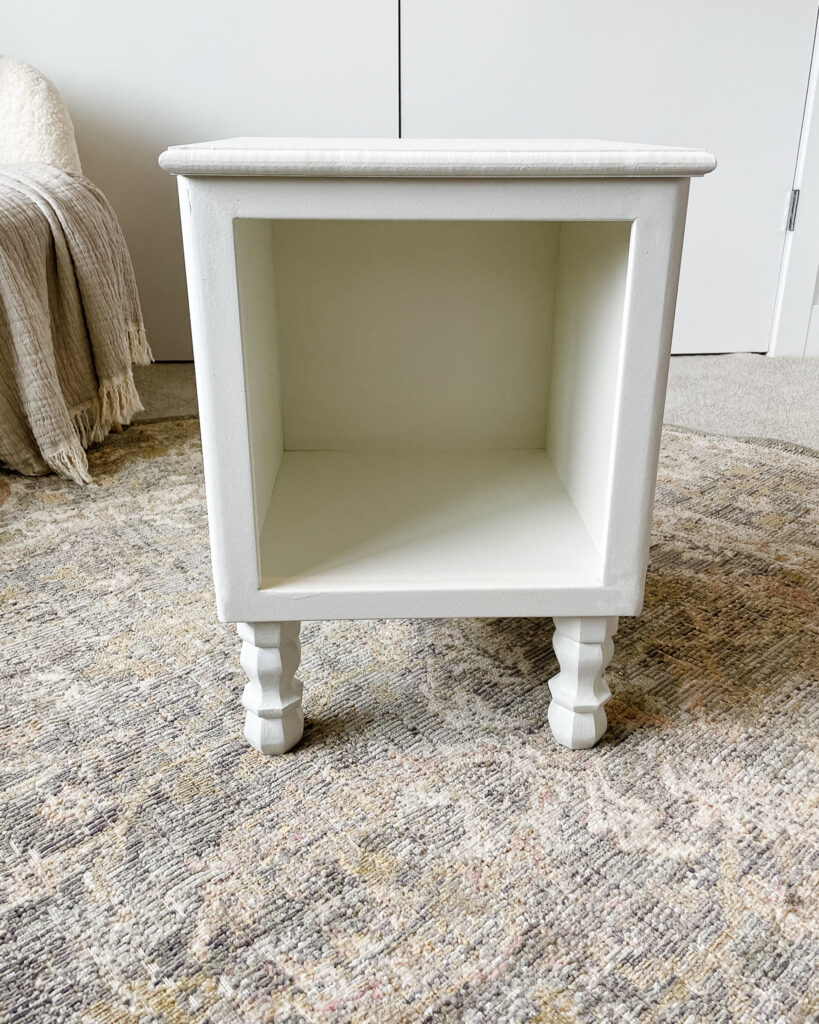
Ikea eket hack - making end tables! a completed version wtih detailed legs and trim around the front.

Comment

  • mike

    They look fab, but thats because of the love that went into it. cant wait to come visit and see all the other neat things you are doing, maybe we will drop in for a day before we head to LA.

Leave a Reply

Your email address will not be published. Required fields are marked *