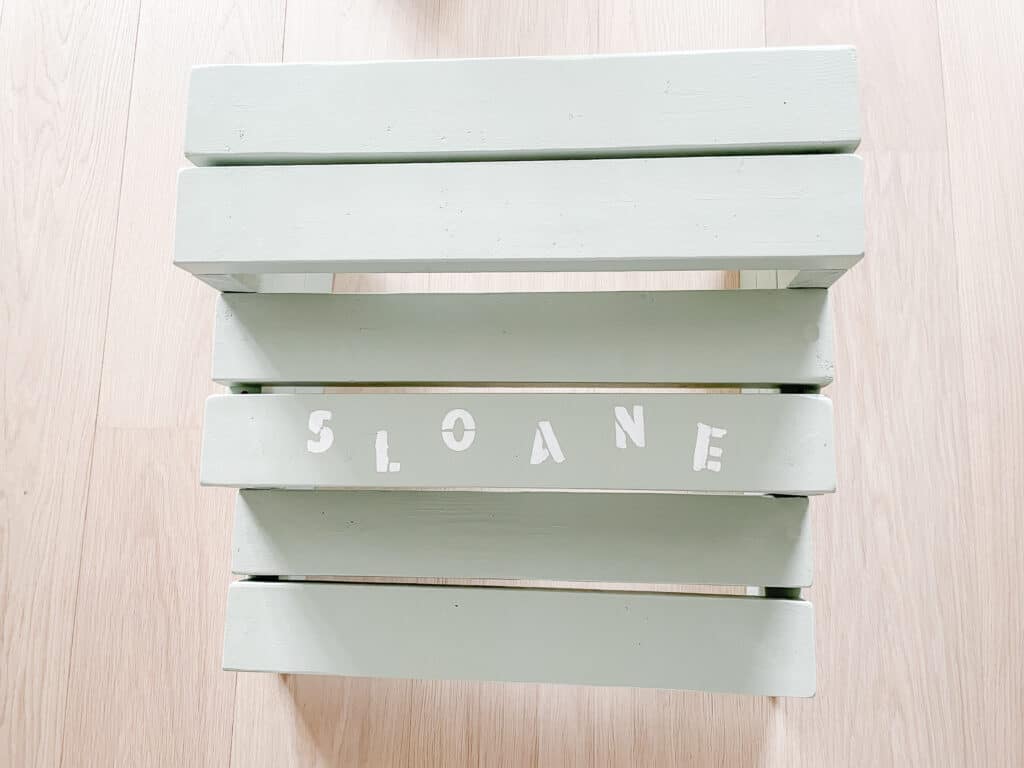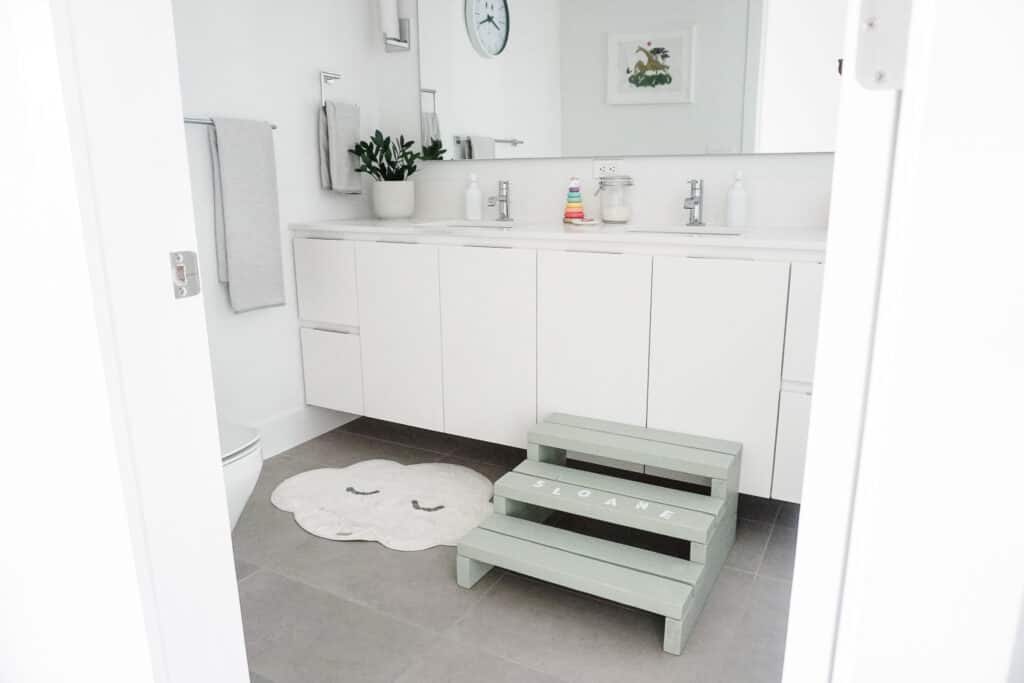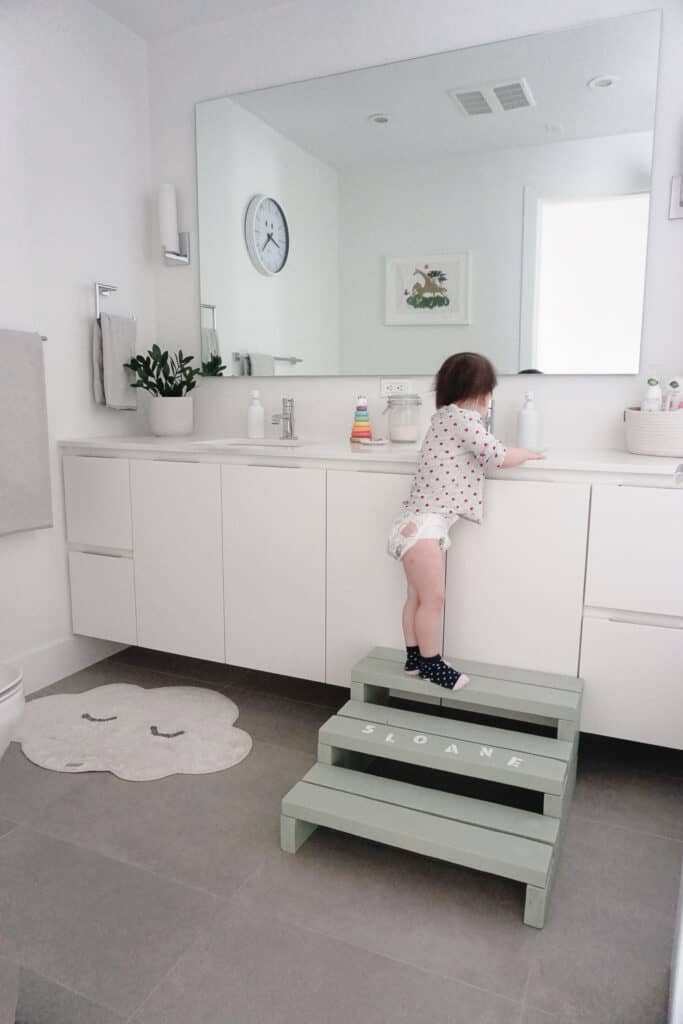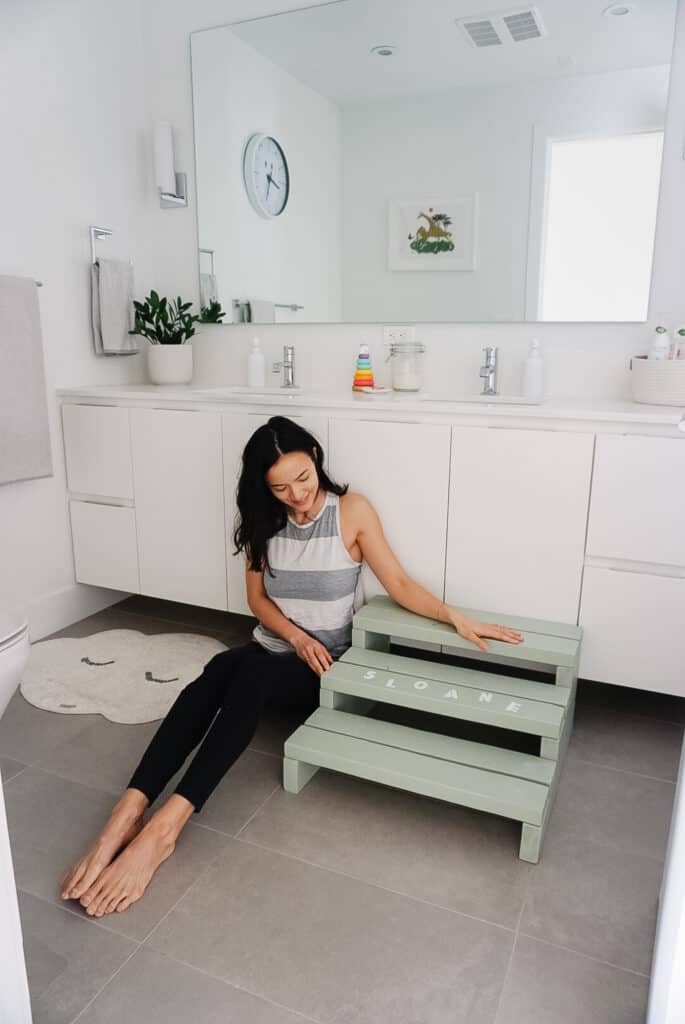
I did, I did it, I did it! My very second power tool project (…where I used the power tools myself!). I promise you, if I can make this step stool for kids, you can too! It couldn’t be more basic in its design, making it one of the most straightforward projects around.
The step stool for kids is not only exciting for you to complete – yes, YOU! But your kiddos (or friend’s kiddos) may also end up spending a good hour playing at the sink with the water. Yes, I am saying this is not only a fun project for Mom (Dad, Aunt, friend – whoever you might be), but it is also a full hour of undivided attention on ONE thing. Yeah, any parents out there know if there is even a chance something would entertain your toddler for an hour, do it, for sure.
That means, this step stool for kids is a game-changer and needs to be made now.

A Step Stool As A Beginner Project
Did you make the DIY concrete table?! That was my first beginner project with power tools, and this step stool for kids is my second. The progression is going well so far! What’s next… full built-ins, right?! … Kidding. Maybe.
Honestly, this is another highly affordable project (I believe it came to $40 – but if you had your paint on hand, it would be a lot cheaper) and incredibly easy. Making your own step stool for kids requires two 8-foot 2×4’s and the ability to make straight cuts. You also need a drill and screws, and that is it.

Making This Step Stool For Kids Versatile
What kind of DIY blogger would I be if this step stool for kids wasn’t another versatile project?!
Change all the things, including:
I wouldn’t change much past that to maintain the integrity and sturdiness of the step stool for kids, but that’s still some good versatility.
Speaking of integrity and sturdiness, I’m taking a time-out for a safety PSA. I tested this step stool for kids by stepping on it and bouncing around on it myself – the integrity of it is up to you to determine if it is safe for your kids, but that was my safety test. I also don’t leave Sloane unattended on here.

How to Make A Step Stool For Kids
For a step stool that is 23 inches wide, 22.5 inches long, and 10.5 inches high (with intentional gaps between the steps), you need:
+ two 8-foot 2×4’s
+ 3.5 inch screws
+ paint of your choosing (this one is Sherwin Williams Clary Sage)
+120 grit sand paper
+ stencil (optional + style of your choosing (lots of options here but consider the size of the letters you want. Mine came from a construction paper pack)
+ wood filler (optional – to go over the screws on the top)
Tools include:
+ a circular saw (I have this one + you need a battery)
+ a drill (I have this one – the batteries would work in the circular saw above) with countersink drill bits


Instructions
1. Using your circular saw, make the following cuts:
2. Choose the best sides that will be the tops/fronts and sand them down. Sand down all of the small sides that will be exposed as well. I rounded the corners so there were no sharp edges.
3. Prime and paint using a colour of your choice.
4. Once your paint is dry, you’re going to measure where your countersinks are going to go (I’ve attempted to lay this out for you in a diagram – sorry about my art skills LOL).
I know, right, don’t be too jealous of my art skills. They are 10/10. Hopefully, between the text and the drawings, this makes sense. Make the same marks on the other side.
5. Find a countersink drill bit that is the same size as the head of your screws. Measure one inch down the bit and mark it with painter’s tape. That is how far down you will be drilling that hole. Okay, go! Drill all eight of your countersink marks to the painter’s tape line on your bit. Next, you can pre-drill with a bit one size smaller than the thickness of your screw (if you want, it just makes drilling a little easier).
6. Next, line up the back of your bottom piece with the back of your middle piece. Have someone help you to hold it in place and screw your screw in! Do the next one as well. Now, test your piece. If it’s wiggling, drill further. If it won’t budge, you did good! Repeat for the other side.
7. Now, take your top piece and line it up with the back of your middle and bottom pieces. Okay, screw these in as well. You should have four countersinks per side. Perform the same wiggle test before proceeding.
8. Now is the fun part, stand the two sides of your base up and start laying your steps across. I pushed the back step to the very end and front step to the very front (so there was a cute little gap in between the wood – like a deck or boardwalk etc.). In addition you want to make sure the edges of your steps line up with the far side of the base.
9. Here you can either measure or eyeball (I eyeballed) the centre of each step to drill into the base. First, use the countersink drill bit once more to go down 1/4 of an inch so your screws aren’t sticking up. After that, drill all 12 of your screws in and voila! Your stool is almost done.
10. As I mentioned above, this is where I hop on and do a little wiggle dance and bounce to make sure it was sturdy enough for my weight and that nothing felt loose.
11. If you’re filling the screw holes, you can do that now, then sand it down, and do your paint touch ups. While you’re waiting for things to dry, you can also finish your stencil.
That’s it! You’re done!!! You DID IT!!!! So proud. If you do make it, tag me in your photos I can’t wait to see them!


I firmly believe that there are certain items in your life that you should be investing in. These ar
Remember earlier this month? Sloane's bathroom was just a vision. Well, now, this builder-grade bath
Holy banana rabbits! I'm not even sure what that means, but I do know it is seriously expressive whi
The name makes it, doesn’t it?! You could totally buy one at the store and make it your own too by adding names onto it?!


Erin
Aww this is so cute! I love her little name written on it. So much more meaningful to have homemade things vs. store-bought. (I’m saying this being the type of person who buys everything at the store. But I would like to be more of a homemade person! Haha)