DIY Wood Christmas Trees

Okay, Christmas decor is at a minimum in this house this year. I’m not feeling what I have but I’m also not willing to settle for something that I am not totally in love with. I’m trying to stop this unnecessary habit of purchasing things for the need and desire to have a finished space. I’m really working on being more intentional with what I buy and having a more fulsome picture of what I intend to do. That being said, this year we did invest in a faux tree (it looks so good! We got this one) so budget-wise more decorations aren’t in there, that’ll be next year’s adventure. Enter my DIY Christmas. I loved these wood Christmas trees from Crate and Barrel but did you see the price tag on them?! $50 for one of the sizes that I’ve made and $150 for a 3.5 ft tall one!

DIY wood christmas trees in a living room on top of a coffee table book.

My price tag on these DIY wood Christmas trees? Free. Used from scrap material I had laying around. So there’s that. In addition to these DIY Wood Christmas trees, I also have so many more affordable DIYs for the holiday’s already on this page:

DIY Ornaments
DIY Yarn Trees
DIY Cardholder
DIY Terrariums
Tapered Candle Holder

That’s a lot right?! You can get so creative this time of year and make magic with what you already have. Speaking of which, let’s get to these DIY wood Christmas trees.

DIY Wood Christmas trees ontop of a bench with faux small christmas trees around.

Here are the tools and materials you need to make your DIY Wood Christmas Trees

Recommended Tools to Make Your Life Easier When Building Built-in Bookshelves
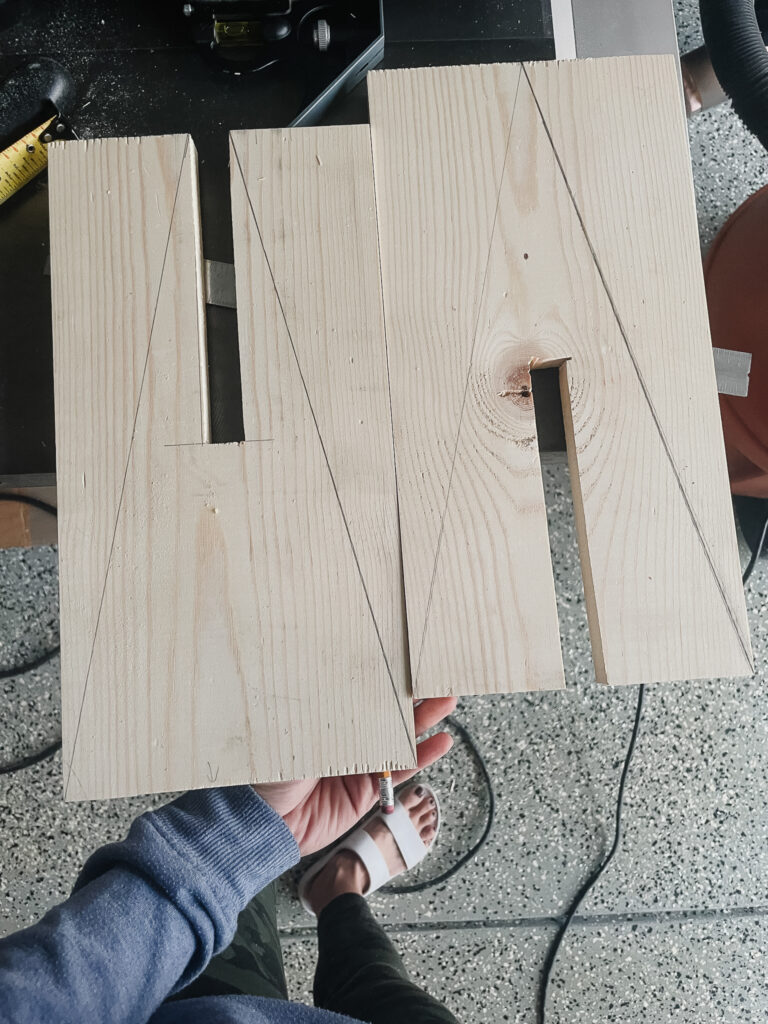
  • Circular Saw
  • Mitre Saw (optional if you have one of the above)
  • Jigsaw
  • Orbital Sander
  • Straight edge/guide
  • Clamps

My Favourite Tools –

Here are the materials you need to make DIY wood Christmas trees

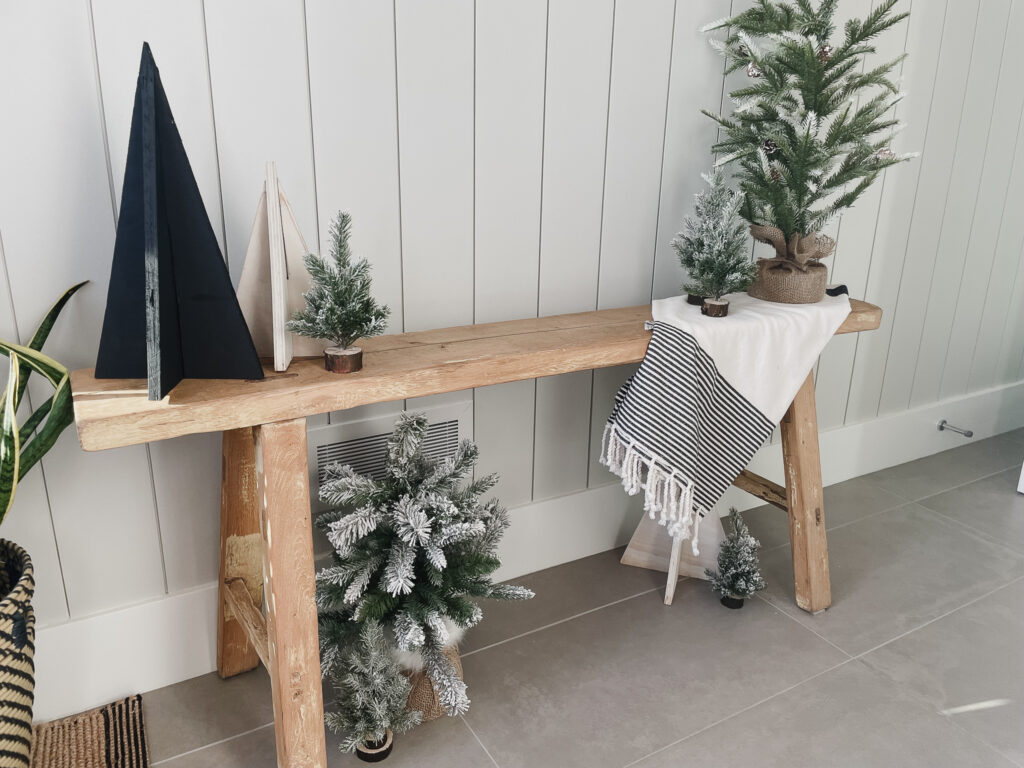
Sizes are totally up to you! I made three sizes:

– 16″ tall x 7″ wide

– 14″ tall x 7″ wide

– 10″ tall x 5″ wide
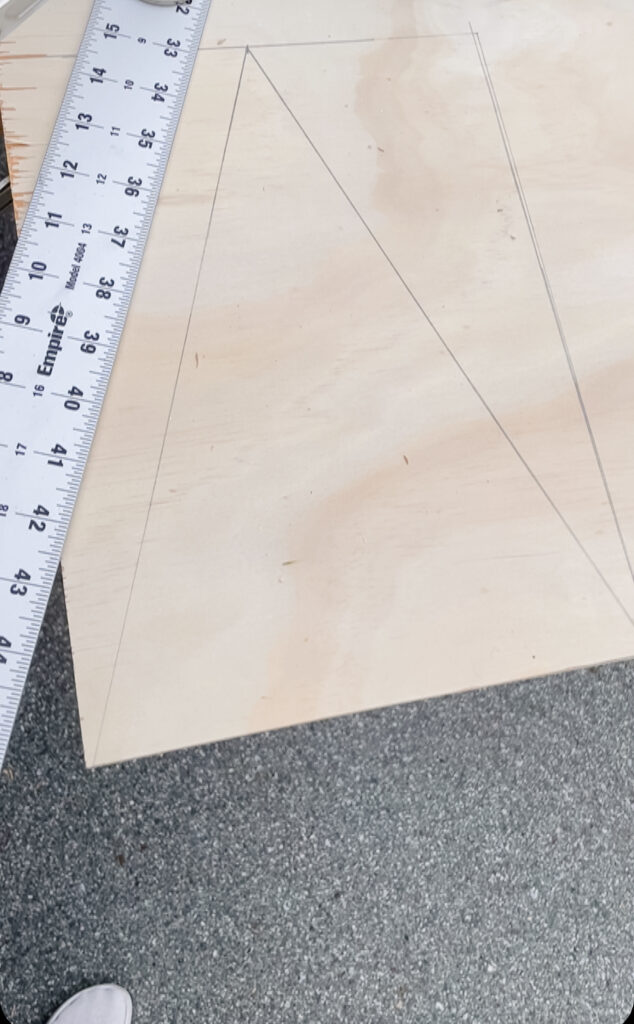
 

For this you need: 

    • Scrap plywood or scrap common boards (max. 1″ thick with 7″ of width remaining).
    • Paint or spray paint (if painting) /Stain (if staining)
    • Sandpaper (for your sander -150 grit and 200 grit) 
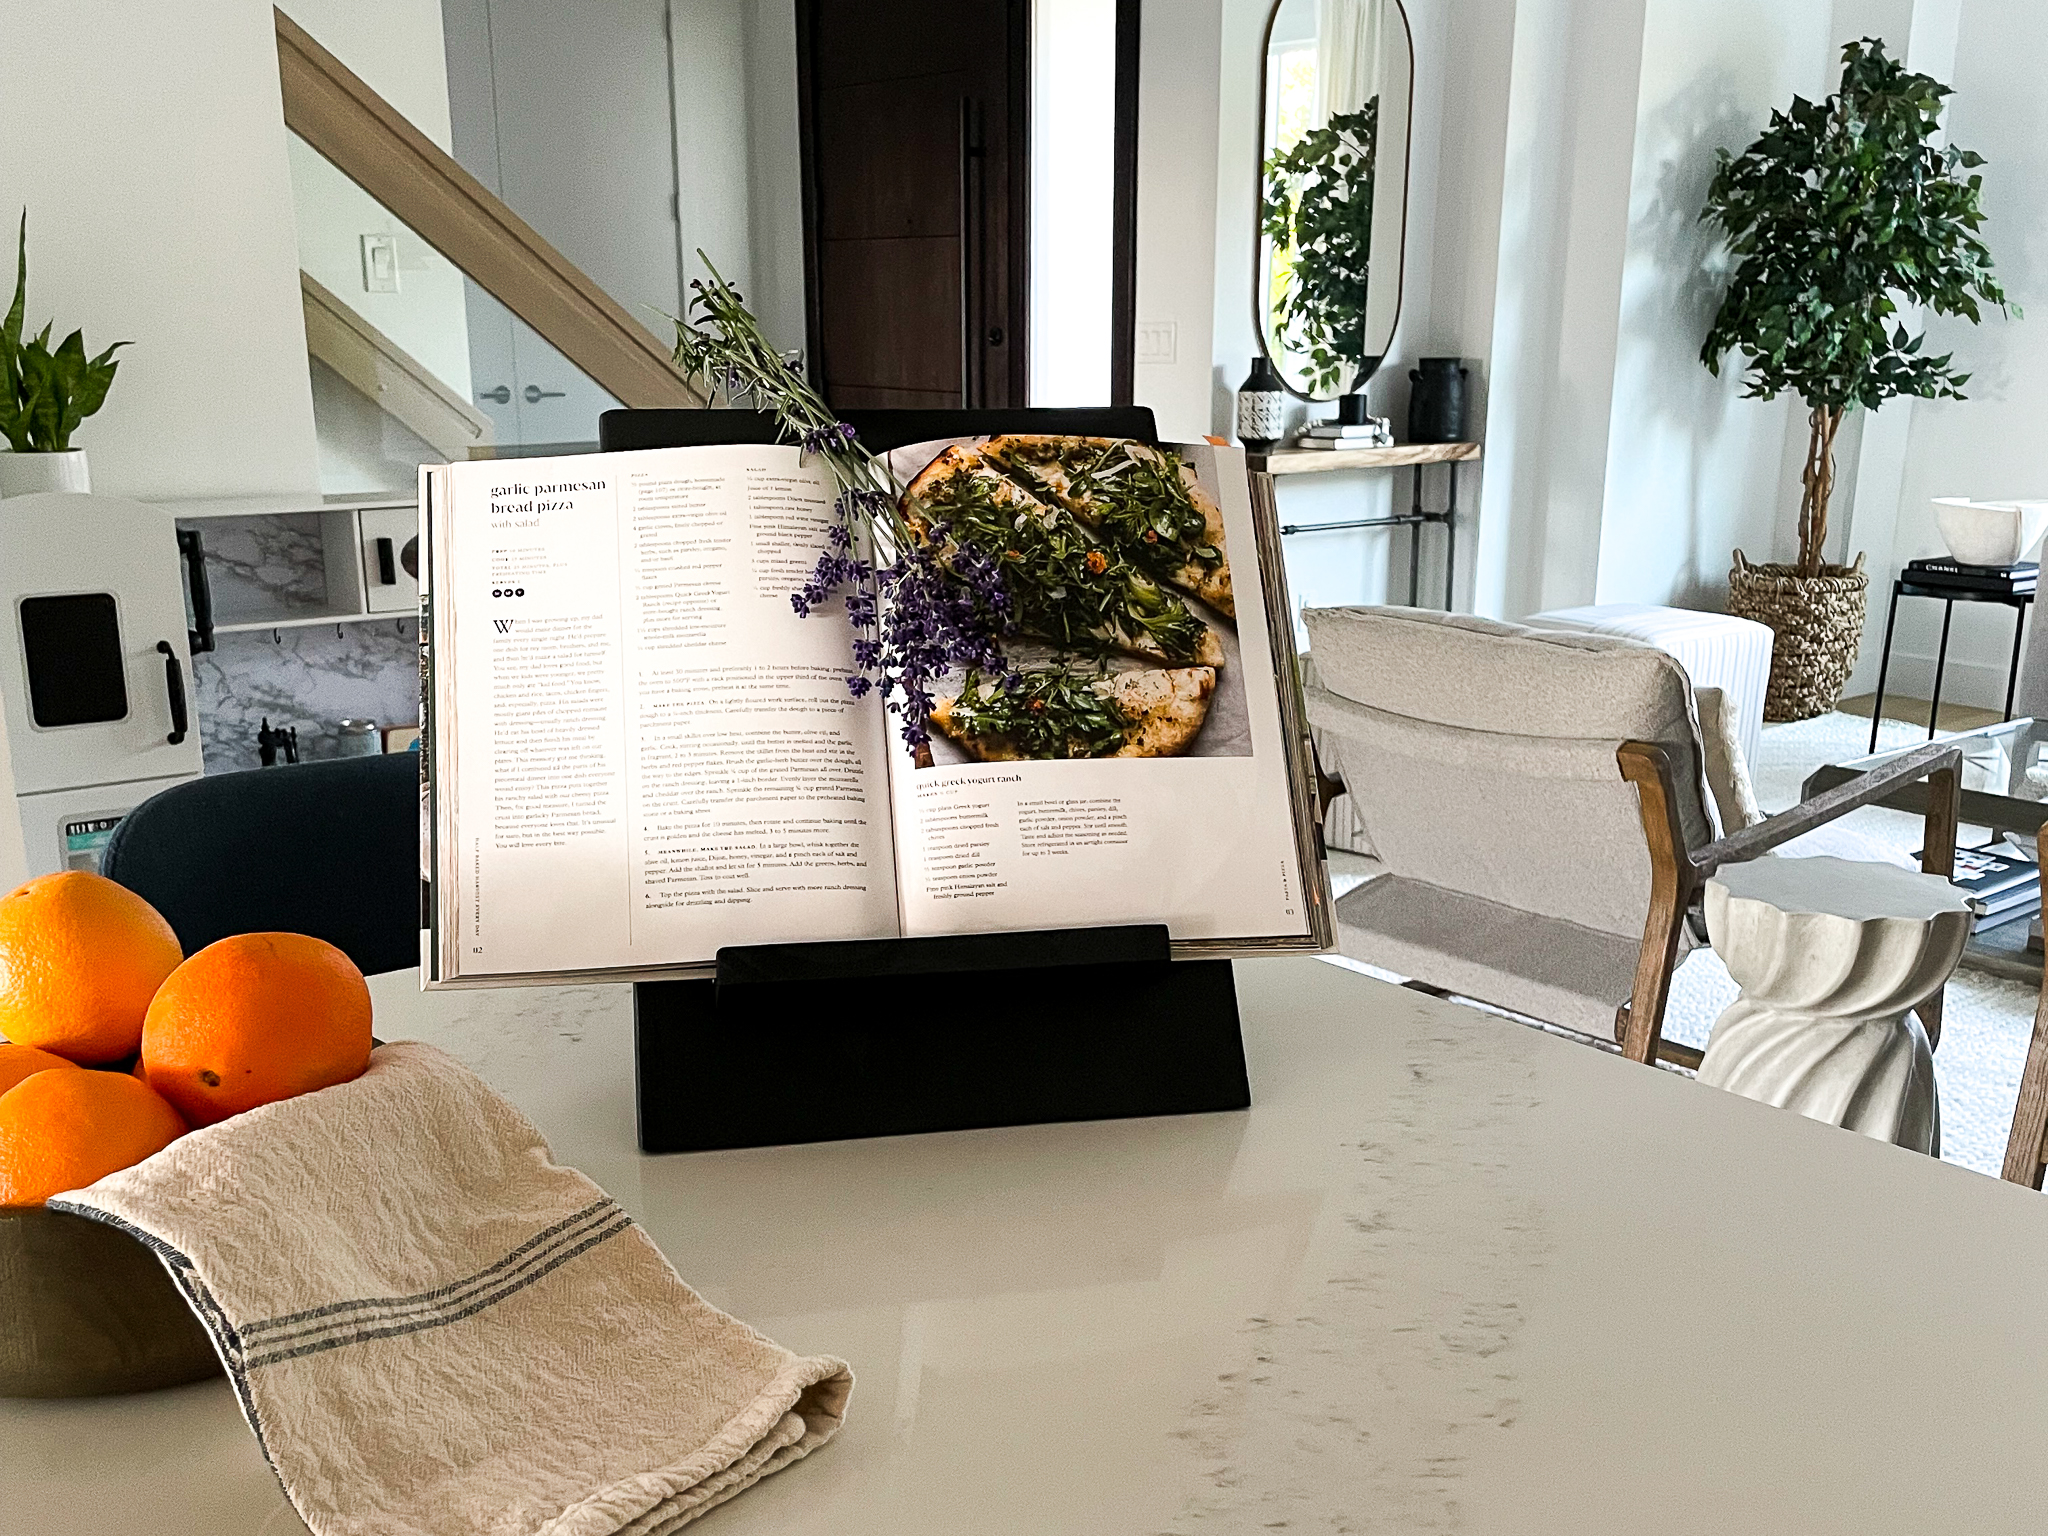
DIY wood Christmas trees in the making - a piece of wood with a triangle traced out
DIY wood christmas tree in the making - two pieces and the centres were cut out of them.
DIY wood Christmas trees, modern, basic, two triangles put together.

How to Make DIY Wood Christmas Trees

  1. Square off your boards. Either using a table saw or a circular saw. Make them 7″ wide or 5″ wide, or whatever size you’re going for.
  2. Cut your boards to the proper height – either 16″, 14″, or 10″ or whatever you want. You need two boards for each tree.
  3. Measure the middle of your board. Then measure half of the thickness of the boards on either side of that middle line (i.e., if your board is 1″ thick it’ll be 0.5 on either side of that line). Draw a line with those two measurements that goes just slightly over halfway up your boards. Repeat on the second board. Test and make sure
  4. You’re going to use a jigsaw but first, you need to make a guide for it. You can use a straight edge and clamps. Cut out that centre hole, moving your guide to the other side when you’ve done that first line. On the second line, before you reach the end (i.e., the middle) cut the jig across and slowly work on getting that centre part flat and cut. The end result of these centre cuts is pictured above. Repeat for board two.
  5. Set up two boards – one with the centre cut towards the bottom and the other towards the top. Draw a line from the bottom corner of your board to the top centre. The one where the centre cut is at the top will be cut off sooner.
  6. Create a guide for your circular saw for these cuts. Again using a straight edge and circular saw. Repeat for all four of these cuts.
  7. Slide your trees together! Paint or stain if you want and there you have your amazing wood Christmas trees!